My holiday project for the Christmas / New Year Break was to complete a full service on the Hyundai Getz. A vehicle, I’ve had since it had 10,000 km on the clock. It’s now at 91k and I’ve maintained it myself since about 30k.
Now, I’m all for going to a mechanic to get the ‘big’ things done or for completing anything that I’m not sure of. In this case, the Hyundai Getz is such a great small car with minimal ‘extra’ systems. So, it makes for a great car to tinker with and learn the basics of mechanical work.
The plan:
- Check – Lights and Wipers for functionality.
- Replace – Spark Plugs, Oil Filter, Fuel Filter, Air Filter for Engine, Cabin Air Filter and Automatic Transmission Filter.
- Extras – Due to the age of the vehicle, I’ve also opted to replace the ignition leads (Current ones have 30-40k on them).
- Replace Fluids – Oil, Transmission, Power Steering, Radiator Fluid.
- Inspect – Wheels, Belts, Engine Mounts
The Service:
So, I had set aside a full day for completing the service as by the time you replace fluids, install new components, check for leaks it ends up being close to about 4-5 hrs. But, I added some extra time for the service as I was completing a fuel filter change as well – Which I know is a bit involved – Due to the Hyundai Getz utilising an in-tank Fuel Filter.
I utilise ramps for completing the service – As it’s super easy to just drive up on some ramps and then easily access the under-side of the engine.

Once you’ve got the vehicle up on the ramps – I simply use an impact driver to remove the engine guards. After this, everything you need to reach is easily accessible.
So, after bleeding and catching all the fluids, I then went on to installing the new spark plugs, oil filters and transmission filter.
I learnt a lot of what I know for servicing a vehicle from my father as well as ChrisFix on YouTube. I find that Chris’ video are very practical and cover all the ins/outs.
Some of the videos include:
After I had completed all the works in the engine bay, I moved onto checking the wipers, wheel condition, bearings and brakes. After all those checks were completed, I moved onto the Fuel Filter.
Now, I’ve replaced the Fuel Filter in the Getz once before. It’s a bit of an involved process. Firstly, to access it you need to lift the rear seat forward. There’s then an access panel beneath there that seals the car from the tank’s body. Once you lift this plastic cover off, there’s a service point where you can remove the nuts to then finally get to the filter. I found this video the best from YouTube.
Now, the fuel filter, I stuffed up on – It took me about 4 attempts to finally get it the fuel filter to seal and provide enough pressure through to the fuel pump. In my troubleshooting, I even went as far as replacing the fuel pump thinking that the pump had failed or wasn’t providing enough pressure.
Luckily in Australia, Repco is a well-known OEM car spares and parts supplier. They were able to fix me up with a replacement filter and pump for about $120.00.
As it turned out, I didn’t need a replacement pump – It was simply a missing O-Ring that was installed at 7:53 in the video (referenced above). After I checked I had installed this washer – I re-installed the filter / pump for the fourth time and it suddenly just all worked! I might add this whole process of checking I had done everything right took me until the next morning. Perhaps I should have done my service in two parts so I was a bit more mentally sharp!
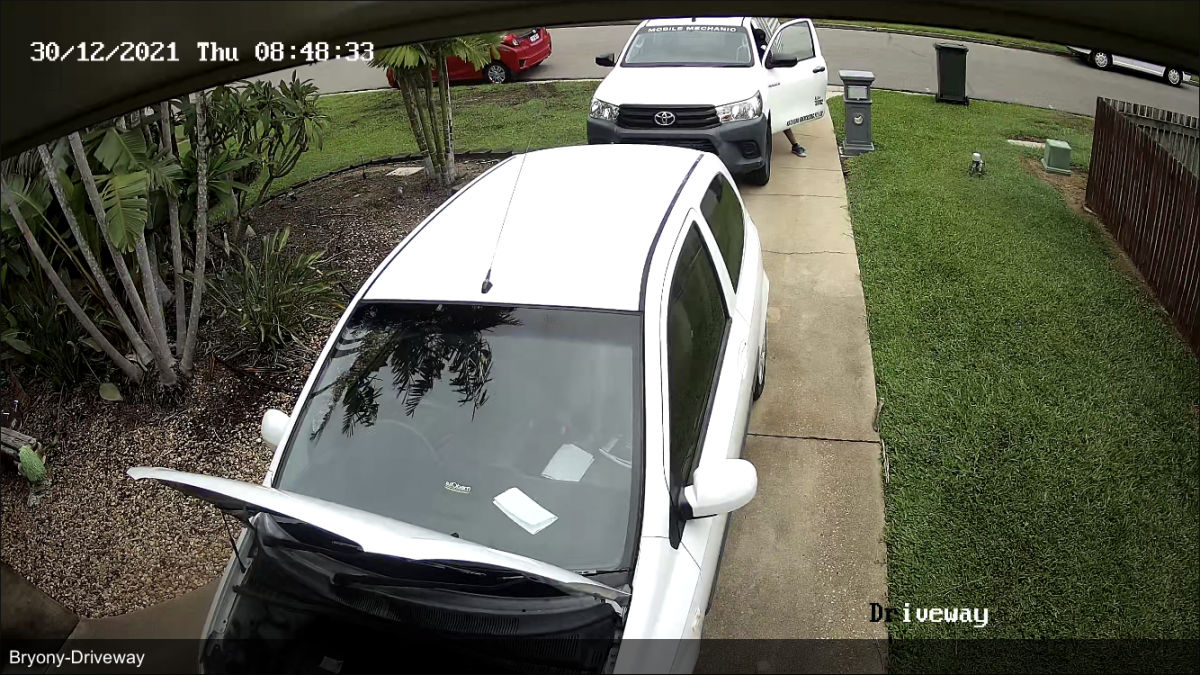
I even went as far as pro-actively booking in a Mobile Mechanic to give me a hand. But, as I had gotten the Fuel Pump installed and working I didn’t need him to check the Fuel Filter but figured I could get him to check other areas I’m not confident on knowing what to look for.

The Mechanic’s Inspection
As I had the mechanic from AutoKing for an hour – I had him look over and check all the engine mounts, brakes, belts and fuel lines. He found some of my engine mounts had cracked. Mainly the rear – dog bone engine mount and the LH side engine mount. Other areas of the car checked out well.
He used his inspection light to check on all areas and removed components as necessary to see what was required.
I found it incredibly easy with AutoKing as well. They had availability for the next day and Nik was able to give me a quote on getting the two engine mounts replaced. I do plan on getting him booked in to complete the repair as soon as my car comes back from the Panel Beaters for an unrelated repair.
You must be logged in to post a comment.